R&D project · ₹499

Phone-controlled smart switch

A NodeMCU and a relay board that turn a lamp on from your phone, built with safety taken seriously.

  • Guide price₹499
  • ComplexityAdvanced
  • Build time3–4 hours
  • Good forClass 9 and up, with supervision
Phone-controlled smart switch

This is the project students ask for most, and the one that needs the most care: it touches mains voltage. Read the safety step first and build the low-voltage half completely before anything is plugged into a wall socket.

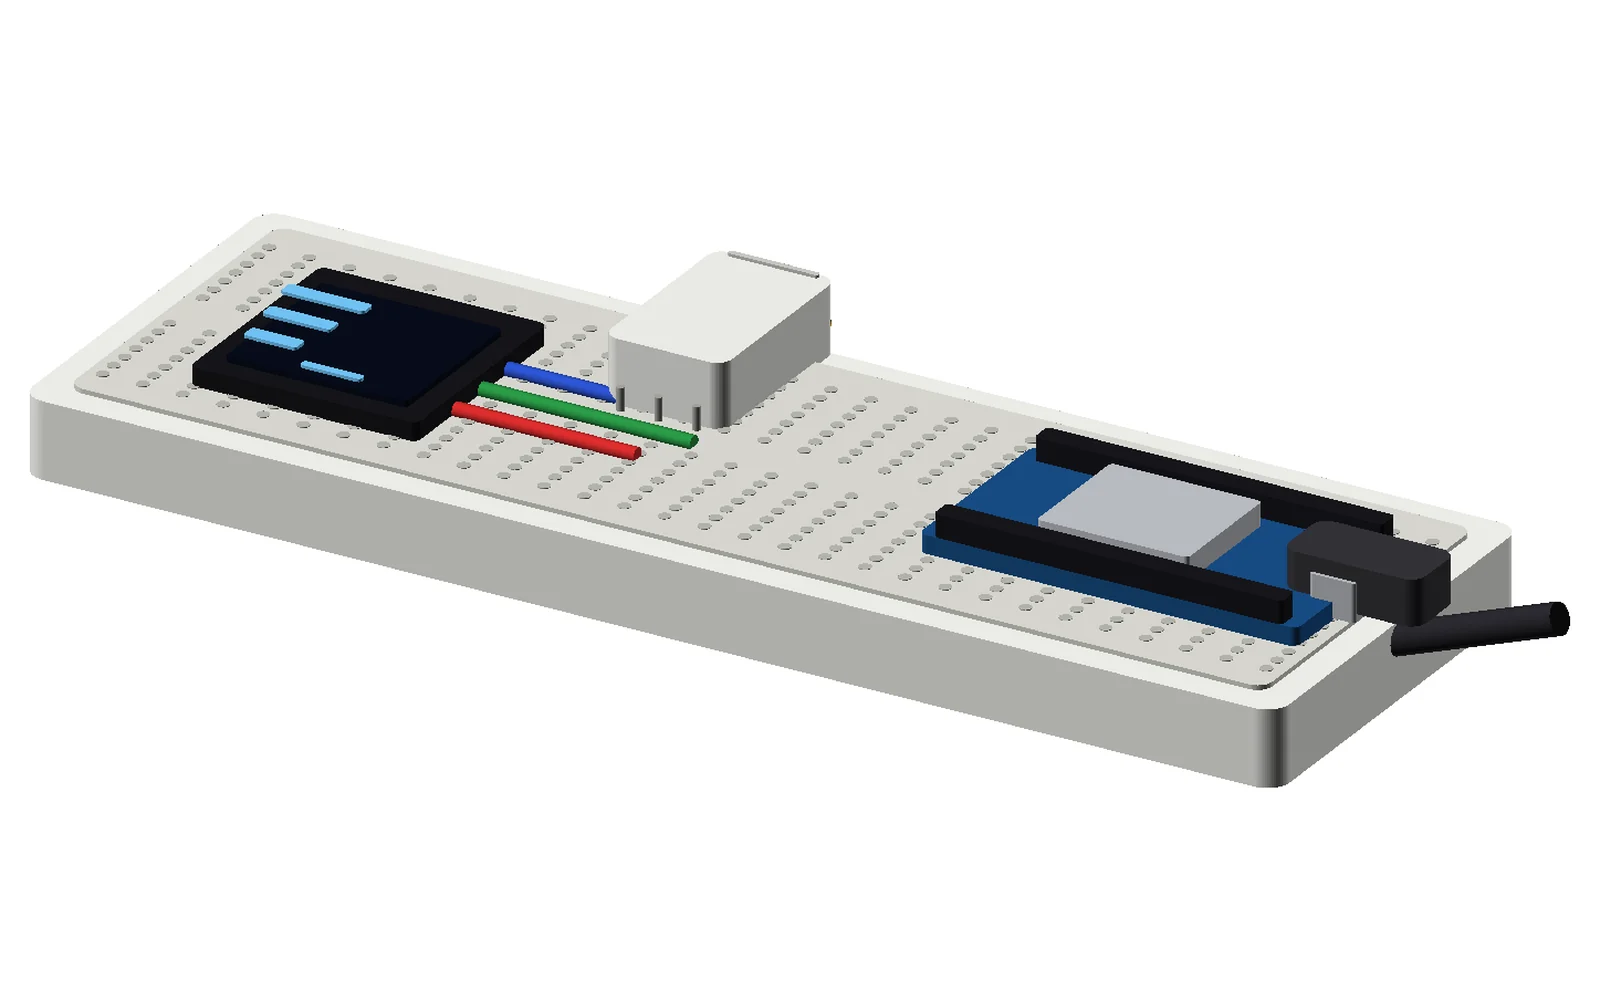
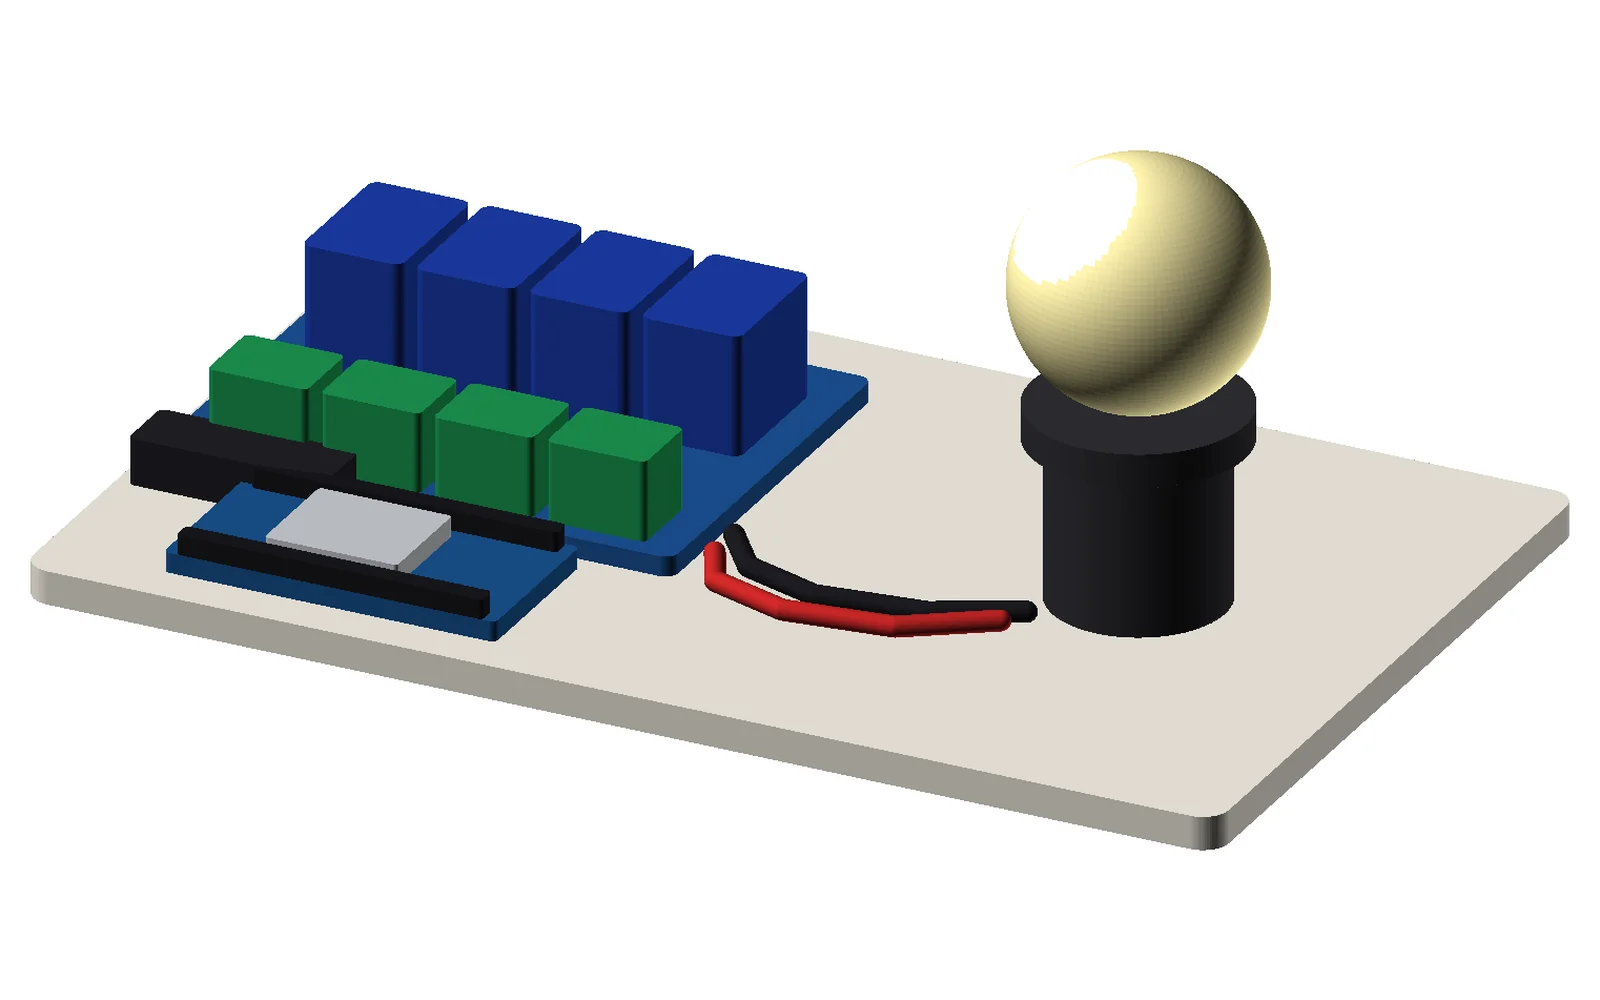
The electronics are straightforward. A NodeMCU joins your WiFi and serves a tiny web page with on/off buttons. Pressing a button toggles a GPIO pin, which drives an opto-isolated relay, which closes the circuit to the lamp. The relay board's isolation is what keeps the mains side and the logic side apart.

What you'll learn

  • Serving a control page from an ESP8266
  • Driving a relay through an optocoupler, and why isolation matters
  • Separating low-voltage and mains wiring in a build
  • Keeping state so the switch survives a reboot

Choose your components

Build Phone-controlled smart switch: Complete Components Kit

Select the hardware you need, then add your selected components to your RoboSixLab shopping cart. Untick anything you already own.

  • NodeMCU and relay board together

    NodeMCU and relay board together

    Required Build needs 1 Not yet sold in our shop

    Not priced yet
     
  • The controller

    The controller

    Required Build needs 1 Not yet sold in our shop

    Not priced yet
     
  • Opto-isolated, four channels

    Opto-isolated, four channels

    Required Build needs 1 Not yet sold in our shop

    Not priced yet
     
  • Clean 5V for the relay coil

    Clean 5V for the relay coil

    Required Build needs 1 Not yet sold in our shop

    Not priced yet
     
Selected components
0
Total items
0
Selected hardware total
₹0.00
Digital project guide
₹499
Selected physical components
₹0.00
Shipping
₹150 flat, free over ₹3000

The digital guide does not include physical components; they are a separate shop order. Prices include GST and are re-checked against live shop prices and stock when you add them. If anything changed, nothing is added and we tell you which item.

Unlocked with your pack

Inside the full project

One payment opens the whole build — not a preview, not a video you have to scrub through.

  • 4 build steps with wiring notes and the order to do them in
  • Complete source code, commented and ready to paste into the Arduino IDE
  • What each part does, so you can explain the build, not just copy it
  • Uses, extensions and troubleshooting — what to try when it doesn't work first time
  • Downloadable pack, plus your private link that keeps working

The build, step by step

  1. 1Safety first, and not as a formality
  2. 2Build and test with an LED
  3. 3Serve the control page
  4. +1 more steps, all unlocked
Unlock the full project · ₹499

Payment checked by our team, then your private link · lifetime link · no subscription

Tools you'll need

  • Insulated screwdriver
  • Wire stripper
  • An adult supervising every mains connection
  • An IEC or plug-in lamp you are allowed to modify

Tools are not included in the pack or the component list.
Next build

More R&D projects

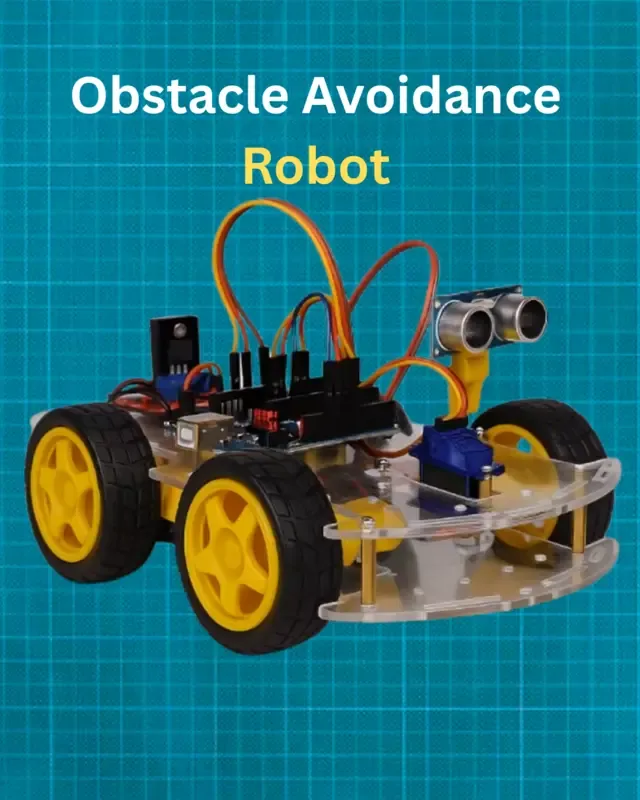
Obstacle-avoiding robot car School ₹99

Beginner

Obstacle-avoiding robot car

A 4WD car that drives itself, sees walls with ultrasound and turns before it hits them.

  • 2–3 hours
  • Class 6 and up
  • 7 components

Parts list inside See the build